Mini update- Rising Dawn

Published October 14, 2017 by kittenmorag

Several years ago, a good friend of mine went through some changes in her life, and made a new alicorn ponysona based on it, called Rising Dawn

Rising Dawn ponysona

Isn’t she bonny?

So as a matter of stealth, I decided to make her a custom of her.

When pressed about her cutie mark, she said, ‘Oh, I don’t know, I guess maybe the rising sun? With anime wings? OH and a flower crown?’ I said a lot of not very nice things at that stage, but I went with it.

It was complicated, easily the most complicated thing about her. I decided to construct the flower crown out of nail decals, because that level of detail in painting is just beyond me. I managed to get it looking OK though!

Cutie mark close up

Here’s a WIP shot. That’s about four different decals in there

And it all continued going well until I used an acrylic varnish. TURNS OUT the leaf decals weren’t water fast, and so they ran D: So I did it again! Then I had to coat it with clear nail varnish (a cardinal sin), then do the whole lot again with my usual varnish

However, I think I managed to do OK with her, in the end

Please excuse terrible photos >.< I’ve learned a lot since I completed Dawn, and I think that shows a bit. The flower crown, however, is one of my favourite hacks- it’s actually an accessory from one of the wedding sets that I’ve painted. You can’t see it very well in the first shot, but there’s a small shock of orange in the tail, as well. The ribbon was added by the new owner, who loves her.

Shine on, Dawn, and rise to new heights. I’m thinking of you ❤


Have a Biscuit

Published January 20, 2017 by kittenmorag

So a little while ago, I was contacted by a friend, who asked if I could make him a custom for his boyfriend, based on one of his characters, Biscuit.

biscuit

Possibly one of the brightest things I have ever seen short of being literally neon.

Immediately I knew he was going to be a challenge, but in the fun, non-nightmarish way, so I accepted!

Some of you may recall that a long time ago, I started work on A G1 conversion of Big McIntosh, from the G4 show. Seeing as I hadn’t worked on that piece for a long time, and I was never going to be satisfied with how he looked, I decided to use that base. This was not very wise on my part, for reasons that will become apparent later in the song.

Basic colour palette was easy, but after the initial paint, I realised that I’d need to change the face, as matching the lines between the yellow pieces on the body and the head was going to be a nuisance

20160228_201406.jpg

Original paintjob- nice and simple, but with one design flaw

So I made a few changes. People laughed a bit, saying he looked somewhere between a Luchador wrestler and a super hero, but the customer was very happy with the changes.

20160305_145239.jpg

Only the blue side is visible here, but you get the picture.

To emphasise the wolf connection, I added a nose later in the process, and gave him the copper eyes that go on most of my totems/selfies.

As for mane, again, the colours were very simple to work out. I put some of Dollyhair’s Water Nixie on the blue side, and Bubblegum from the pink.

2016-04-25-19-36-53

Showing the colour variance, as well as his CUTE SMILING FACE

The body was reasonably simple, as well- clear dividing colour lines, roughly in half with yellow back panel and belly should be nothing too dramatic.

Until we got to the feet.

THE FEET.

Using a G1 Big Brother mold, he has molded hoof feathering, in the style of a Clydesdale. I decided it would be a solid choice to put some shadowing in the crevices, just to define the area.

That took FOREVER and was a detailing nightmare. Unfortunately, I didn’t have a suitable darker shade for the magenta, either, so I had to hand mix one every. time. I wanted to work on the details. UUUUUUUGH. You’re all invited to remind me of what a bad time I had next time I’m doing a Big Brother commission.

20161107_082021.jpg

However, the contrast makes a huge difference, as you can see from this WIP shot

Once I had the body ready, I was all set to re-attach the head! Or so I thought.

See, I’ve had this bait detached for the better part of four years. That time, as well as the somewhat extreme measures I had to take to strip the literally five layers of red from Big Mac pony, had warped the head to different dimensions from the body.

20161212_044605.jpg

Cue me screaming forever

FORTUNATELY, the customer was very understanding, and told me to keep working, and that he was sure it was fine. I love my customers! ❤

So once the head was on, all I had to do was style the hair and tidy up, and he was done! And boy, does he look good!

I thatched the hair for a good contrast (and i think thatching pretty much always looks good), plus the style covers his crooked neck seam. The yellow in his tail is recycled from a Fashion Styling pony, but is a match for Dollyhair’s Butterfly. The cutie mark isn’t quite a match for a wolf pawprint, but it’s close enough. I found the charm on Etsy at Stephanie Martin Beads, and added the same paints I used on the project.

I learned so much on this project, and while I suffered a lot of frustrations, I think he was well worth it. Apparently he was well received, as well, so that always makes my day.

Man, after uploading these photos, I need a Rainbow Paddlepop

tumblr_inline_n037fitxte1sxalso

An Australian staple and classic

The rise and rise of a Shackled Star

Published November 19, 2016 by kittenmorag

So when we last left our hero, she was in the middle of painting her first commission 😀 I’m pretty lazy though, so I’m going to be posting a lot of pictures without too much commentary, mostly because it’s pretty basic stuff.

20151107_231655

One of the first shots I have of her in progress, as you can tell by the paint >.>

So getting colours right was pretty simple, given I had a solid colour palette to start with. The cutie mark was another issue, though. Pro tip! Drawing straight, geometric patterns on curved pony butt is a pain! But as you can see, I managed to get it going in the end.

20151106_033304

Scuse kitchen, it’s where we have the best light >.>

The design for the head required a little more work, but with Shell wanting something visually similar to the Nightmare antagonists of the show and the comics, the visual was already well established, it was just working out the particulars.

nightmaremoon_l_ebay_gonewiththewind20

The Nightmare Moon brushable, which is the other main source for Shackled Star’s aesthetic.

With the colour scheme being black and purple with silver accenting, it only made sense that the hair colours should match. As you can also probably see in this shot, I also added a shimmer effect varnish, to help make her look more nebulous and starry

20151108_093041

Man, I wish I could smash out my own eyeliner game so fierce.

The wings were similar, with a purple ombre effect (YES OMBRE EFFECT)

20151107_011816

Still a work in progress, but you get the idea.

Once she got put together, Shell wanted a high, ringlet-y sort of hair style, and we all know what that means…

20151113_093101

BOIL PERMING!

And so, after a little faffing around once her hair had dried, some brushing, and a few finishing pieces…

I am so proud of her, and Shell was delighted. She took a lot of work, and I learned a lot of lessons, but I really couldn’t be happier with her.

OF COURSE if you would like your own commission like Shackled Star, or something entirely different, please contact me, and we can talk

Notes on my latest projects, or, Why Acetone is Evil

Published February 4, 2016 by kittenmorag
  • Don’t paint until you have the hair to colour contrast against.
  • If you can, always paint like you’re going to have to take that paint job off and start again
  • Don’t lose important pieces like plugs, heads, wings, and other things that can go walk about
  • There are never too many cotton pads
  • Same goes for cosmetic cotton tips
  • Don’t soak pieces in acetone, as ponies are still plastic
  • You should have two bottles of acetone- a small one for pouring and actually working on projects, and a big one for decanting into.
  • DO NOT try to use the big bottle in your workspace
  • DO NOT
  • DO NOT try to decant acetone inside
  • Disposable gloves will not help you much.
  • Fabric gloves will just keep the acetone in contact with your skin
  • Do not dip a toothbrush in acetone.
  • I mean it now
  • If you have to have extended contact with acetone, you’re going to have a bad time.
  • Acetone is the devil basically
  • How the hecky dang to people even get their nails done all the time IDEK
  • But hey at least it takes the paint off most of the time so that’s cool
  • Don’t lose the cover for your craft knife.
  • I swear I had that piece five minutes ago…
  • ALSO acetone leaves paint it doesn’t remove quite sticky so be prepared to be picking out cotton fibres sometimes.
  • But for all my complaining you really desperately want 100% industrial acetone accept no substitutes
  • sometimes you gotta make a deal with the devil
  • But trust me it’s actually pretty evil IPA got nothing on this.

Posted from a drift made from packet and a half of red-soaked cotton pads and frustration.

My First Commission- Shackled Star

Published November 7, 2015 by kittenmorag

WELL after a year of stuffing around doing not much with my ponies, I was contacted by a friend of a friend regarding a personal display piece/sort of OC custom, so I’m PRETTY STOKED to be working on something like that!

Shell (the customer) wanted something in an Alicorn pose, with colours reminiscent of Nightmare Rarity, and that’s about it that she gave me to start with. SO ONWARD!

I love Nightmare Rarity, she’s one of my favourite things to come out of the comics 😀

Of course, as an Alicorn, I don’t have a lot of choice as to her body model. I wanted to get a Nightmare Moon Base, but it turns out that either it would be cheaper to buy one of the OC Alicorns, Princess Gold Lily or Princess Sterling, down the local shops, or I’d have to put up with a bad fakie. And by bad, I mean ‘unable to stand up due to two bowed legs’.

LUCKILY I had a Celestia in my Box of Baits, that a helpful little girl or boy decided to freshen up with some pink highlighter.

Because children scribbling on their toys with textas is almost inevitable

Because children scribbling on their toys with textas is almost inevitable

As you can see from this shot, not only are her hoof guards exceptionally coloured, which didn’t all end up coming off with acetone, but she has three rows of plugs on her head, and those go down past her ears. Hooray. The things we do to give Alicorns the FLOWING LUSCIOUS HAIR THEY DESERVE. SO off comes the hair!

IDK I think she looks good as a punk.

IDK I think she looks good as a punk.

The above shot shows how much the yellow paint stained the plastic. If I was painting her any colour other than black, that may have been a problem. LUCKILY NOT. I also left the eyes untouched, partially because I can just paint over them, using them as guides, and partially because even if I decided not to, the Alicorn model doesn’t have the moulded eye recesses the regular Playful Pony mould does.

As some of my regular followers may know, G4 ponies are painful, as they have these plugs in the neck that block access to the rest of the body and need to be very carefully removed. The good news is, with both these and the smaller Alicorn moulds, you don’t have to remove the neck plug! 😀 The bad news is you need to remove the wings instead, to get the tail out D:

Removal of Celestia’s wings took several hours. It took several hours because Hasbro still hasn’t gotten over its fling with glue. I mean just… just look at this

What the actual hell, Hasbro

What the actual hell, Hasbro

So several layers of plastic, a few close calls on wings, and two sincere attempts to take my fingers off, her wings were finally free, and painting could begin! Which I will address in the next post! Suffice it to say, I’m excited.

I’m still alive!

Published July 2, 2014 by kittenmorag

Hello everypony!

I’ve gotten a lot of questions about the status of my blog, and the work I’ve been doing with ponies, seeing as it’s been an entire year since I’ve updated >.< Whoops.

The good news is, I’ve still been doing some work! Sadly, it’s not as much as I’d like, due to declines in my health, but I’ve completed three new ponies so far, with two other new projects well underway. I just have to get around to writing them up >.>

Which brings me to the bad news- I’m super, super lazy, which is why there have been no updates. Hopefully I’ll be doing better now that I have some motivation to work on them (and a new platform- Hi Tumblr followers! <3), but that still doesn’t stop the fact that I suck at getting things done.

I’ve also got some photos of my ever-expanding collection, so expect me to spam them at you sometime. If you don’t give a damn, I’m trying to tag everything so you can block out the posts you don’t care about.

Aaand yeah, that’s about all for now. I’m alive, the ponies are being made, and updates shall resume shortly!

“Why are you using power tools on your ponies?”

Published July 19, 2013 by kittenmorag

So, for those who aren’t directly linked to the rest of my constant drivel about ponies and my life, earlier this year saw the advent of PonyConAU, Australia’s first national-level event for the latest series of My Little Pony. I met a lot of really cool people there, including a friend of a friend who has apparently been watching this blog with interest.

Now, this gets relevant to power tools around about when said friend managed to secure the last card I needed to complete my first series collection of MLP trading cards.

OMGCookies

This was my face

This was no mean feat on her part, so I was (and still am) pretty stoked. When I said ‘Hey, I’mma make you a custom, who do you like?’, she responded ‘Well, Chrysalis is my favourite but she’ll be too difficult.’

To be honest, though, I’d been pondering a Chrysalis custom for a while, so this gave me the vehicle to do so.

Instead of one of the G4 alicorn models, which, incidentally, is being used for a licensed Chrysalis brushable, I decided to go with Morning Glory, one of the Flutter Ponies from G1.

I chose these for several reasons. First, and probably foremost, is that the wings won’t be a massive pain in my bum. The original Flutter Pony wings were pretty fragile, but leave behind the original wing slots, which are great for reconstructions or, in this case, complete replacement. Second, the Flutter Ponies are very finely built, and are only a little smaller than the G4 alicorn mould, so that’s a happy coincidence.

Comparison

Size comparison with a G3 body. They’re really super tiny

And last, but not least, it means that using power tools on them is less likely to go poorly, due to the soft plastic they’re made of. BUT MORE ON THAT LATER

Honeysuckle is a really delightful pony to look at, and it’s sad that she and the rest of the Flutter Ponies fare so poorly in the scheme of things.

IMG_2850

As my cat is very happy to point out. Thanks, cat >.<

She was very grimy when I received her, her hair was a ball of frizz, and you can see one of the several spots of cancer she has. She also has a large black spot of texta on her chest. Fortunately, none of this matters, as it’s all going to get rerooted or painted over, so that’s something! 😀

There was really none of the hair that I could save for later use, and I ended up having to cut the plug off, as the head just wouldn’t come loose, but I eventually got her stripped down.

IMG_2862

AND THEN CAME THE POWER TOOLS!

So, for people who have no idea who I’m talking about, this is Queen Chrysalis of the Changelings-

In order to do her any justice, I need to put holes in her legs, and as I’m sure you can guess, DRILL!! 😀 The plastic is actually quite giving, and takes the slight twisting that happens on a drill bit well in its stride.

I certainly can’t hope to match the holes shown above- unless I fill the entire leg with something, it wouldn’t maintain structural integrity. TIME TO EXPERIMENT!!

Left Right

Angle 1 Angle 2 Angle 3

I’m pretty stoked with how it’s looking, but that’s far from all. I need to add some more smaller holes, and then I’ll need to work out what medium I’ll be using to fill in the pieces around the holes (so that instead of opening up into the empty air of the legs, there’ll be something in there). I’m thinking I’ll go with Plastimake, as I bought some ages ago and haven’t gotten around to using it yet >.> What I do know is that I’ll need to fill in the places where the drill has bit in where it shouldn’t (you can see one on the far leg in the fourth picture), so that’ll probably be some sort of filling medium, as well, and maybe that will just work better.

I know I say this a lot, but I’m super excited for this project! 😀 And I hope my friend of a friend is happy with my progress ❤

“Without you, our entire existence is meaningless…”

Published May 19, 2013 by kittenmorag

WARNING- SPOILERS FOR THE MY LITTLE PONY COMIC SERIES, ISSUE #6

Are we in the clear? Good!

I’m waiting on some photos of my most recent project, so here’s some news about my latest project idea.

I’m loving the heck out of the MLP comics, but the latest storyline is just blowing me away. For those who haven’t heard Morag rant about her fandom before, I love Princess Luna/Nightmare Moon. She is easily my favourite character, so when I discovered that this new story arc was about Luna and her time as Nightmare Moon, I squeed so hard that only dolphins could hear me.

Then this happened…

Cue my brain going nuts about making this as a custom pony!

However, starting her is going to be a problem until I can get my hands on the next issue for palette comparison. HOWEVER I HAVE A RARITY TO HAND, SO TALLY HO!

The most dreadful part about modding new ponies is removing the hair. I thought it would suck for Rarity, but you know, I hear short manes are in this season

Short mane

So is looking like Sinead O’Connor

Now that I actually know what I’m doing with G4 mods, getting her head off was a lot easier.

Seperate head and body

Now, I recall what I was saying last time I did a G4 mod, but hopefully getting the plug out and the hair through will be easier. I will still have to do a lot of cutting to get the plug out, of course, but I’m feeling good about that.

Head plug

As you can see, it’s actually going to have a series of  challenges, no matter what I do, including the high risk of stabbing myself in the hand through Rarity’s neck >.<

But yeah! I obviously hate myself for wanting to do another G4 pony, but NIGHTMARE RARITY! How could I not?

I wish the Tudors would shut their pie holes, and why is rerooting making my life so difficult?

Published February 28, 2013 by kittenmorag

So, for those of you who have been living under the metaphorical internet rock, King Richard III’s body was identified recently. Being the last king to fall in battle, and the last king to be identified and buried with appropriate honours back until the 11th century, this was very big news.

As was the fact that he was found under a council car park. The internet is still laughing.

Given that I’ve chosen Richard III to be paired with my Elizabeth I pony, I figured it was time to get my butt into gear and at least get him to the point where I could start playing dress ups.

Finding sources that give accurate description is difficult, thanks to Shakespeare pandering to the Tudors, and being unable to shut his cake space about how evil and deformed the last Plantagenet King was. Fortunately, a lot of the artistic representation closer to the period doesn’t demonstrate such bias. I’ve decided to base him on one of the less well known renditions of his portrait, so this-

As opposed to this-

Both are in a traditional pose of the era, which I’m pretty sure indicates the loss of his wife, Anne Neville. Don’t quote me on that one, though, I’m finding it kinda difficult to get definitive citations here >.> But anyway, the former picture will be much more simple for me to clothe than the latter, and that carries a lot of weight, given the scale I’m working to.

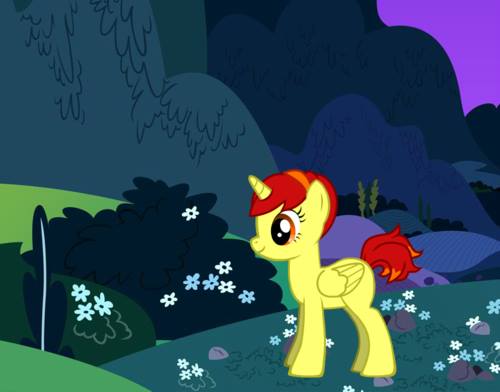
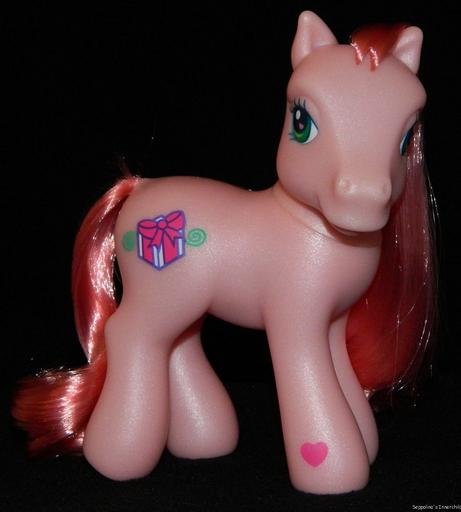
So, Dickie pony started as Sno-Glo from Gen 3

I stuck with the same Kimono pose as I have for Bessie, but went for a more natural skin tone, as he’s not portrayed as heavily made up as our Bessie was.

The body is, sadly, the most simple part of these projects to get done. It’s sad because both Dickie and Bessie’s bodies have been really VERY frustrating. Even more so that Dickie was the most simple, but gave me the most grief. As you’ll see, this was probably something I’ve done to myself, but that doesn’t stop it being so. Very. Annoying.

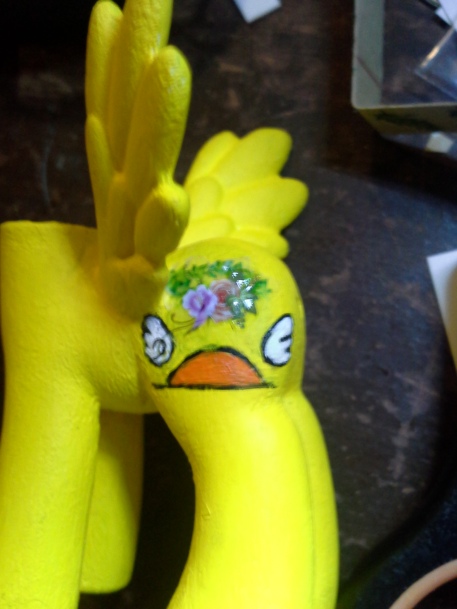
First up was body prep. There wasn’t a lot to do here- strip down the original paint job, and redo the eyes and cutie mark. I feel really good about the job I did with the eyes, especially after discovering how to cover up the little cute marks mentioned in an earlier post. I’ve also worked out that I don’t have to entirely white out the eyes and do them from scratch. Most of the time, I can just repaint over the iris with the necessary colour! 😀 Hooray!

???????????????????????????????   ???????????????????????????????

I’m still really pleased about it, it’s one of the most excruciating pieces of detail that I’ve ever done.

The cutie mark was also surprisingly simple, especially given how complicated I thought it looked. I used the York Rose, because, you know, ‘…made glorious summer by this son of York.’

… Sorry, this is the last one, I promise.

A little less fancy than this. I don’t want to give myself an aneurism over the detail any more than I already have >.>

There. The York Rose. Using my usual method of tracing on with a fine liner gave me a good base outline, which was, in turn, easy to paint.

Finished Cutie Mark

Looks and sounds simple so far? It was! Gratifyingly so! Then came re-rooting, and that’s where it all went out the window.

First up, I couldn’t find a shade of hair that matched closely enough for my finicky tastes. This is probably because just about every version of his three main portraits on the internet had slightly different contrast to every other one. I started the job with Espresso from My Little Pony Hair. It turns out that Espresso is basically trouble. Every time I teased out enough hair from the skein to make some plugs out of, the rest of it got super tangled. Whenever I tried to untangle it, the rest somehow got even more mussed up. Even worse, the parts that I could untangle frizzed up out of control. I ended up having to cut a third off the end of the skein to save the rest of it.

But still, I persevered. I got just past the back of the ears before I realised that the Espresso was too light for the job. I then went about taking those plugs of hair out, and lost about a third of those, too.

I eventually decided to mix the Espresso with some Roasted Almond, to put that little bit of red in there. Of course, it turns out that Roasted Almond tangles really easily, as well. Between the two hanks, I was only just lucky enough to get enough out of it for both the mane and the tail.

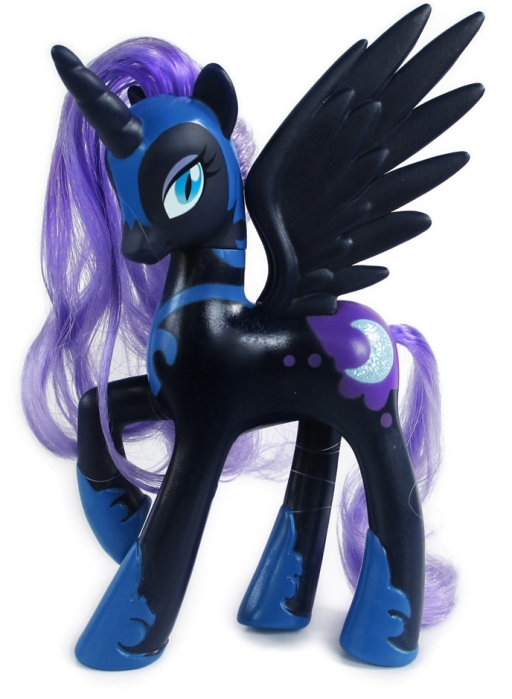
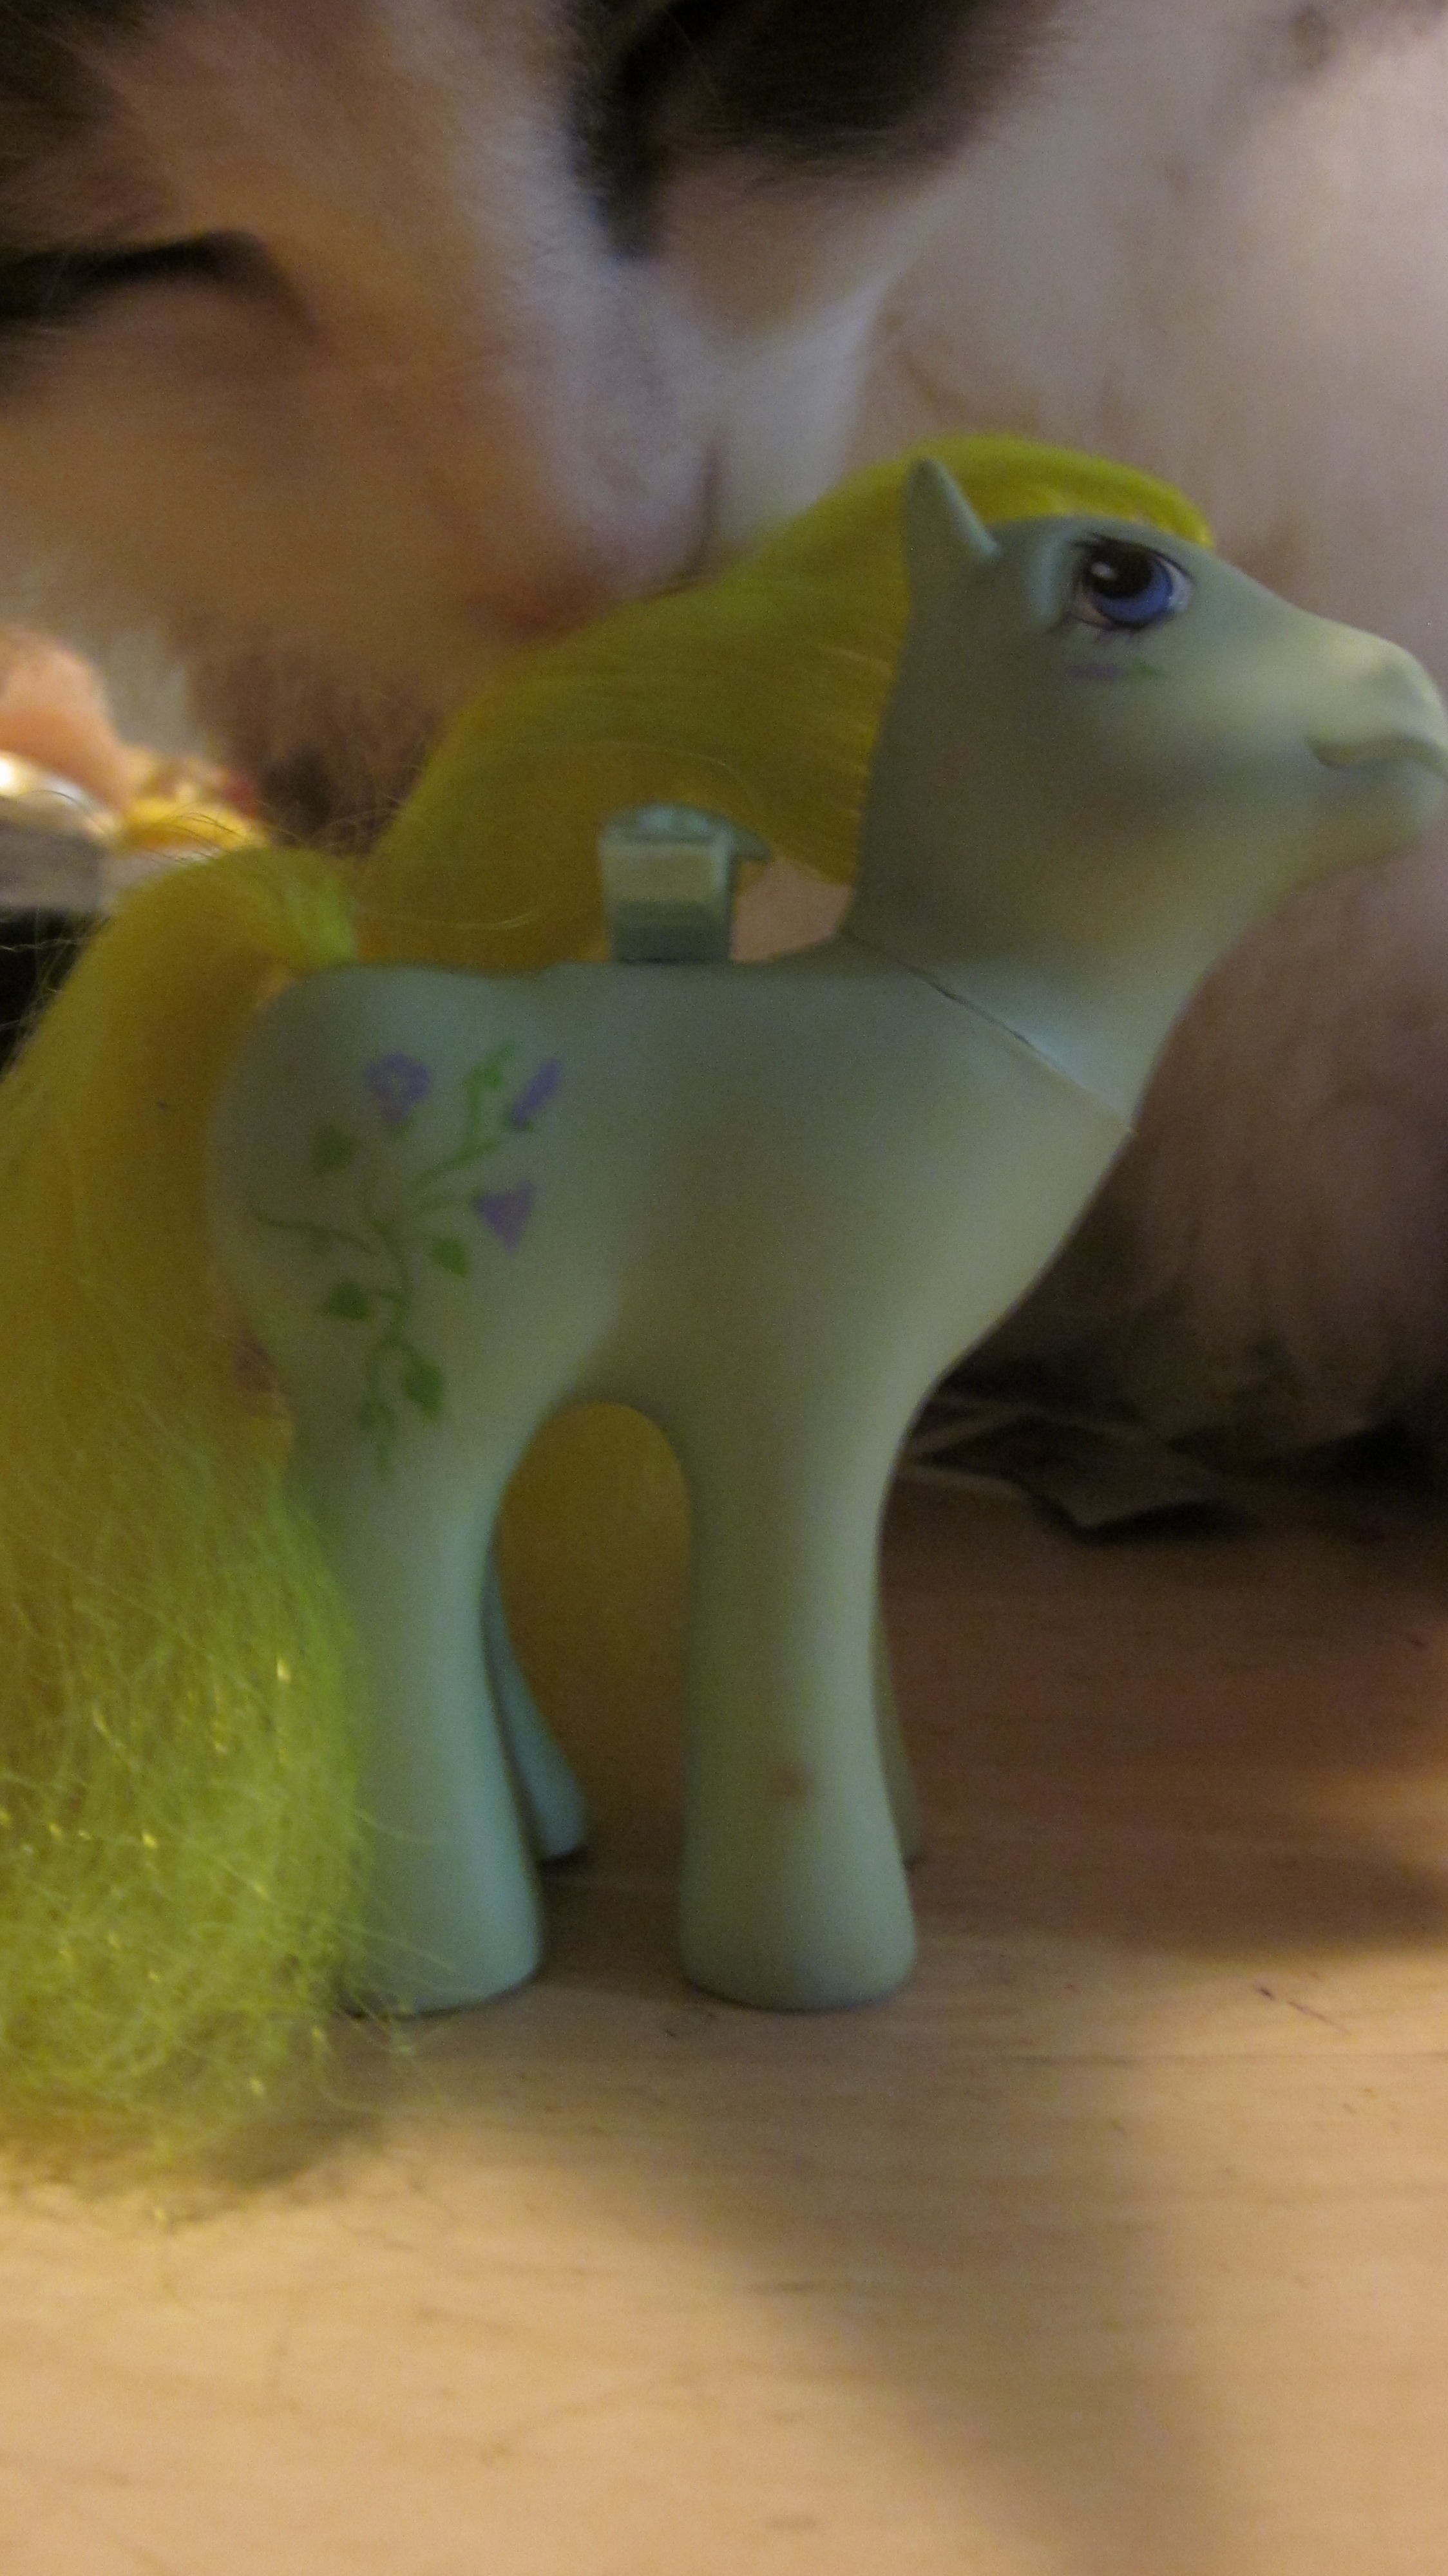
But now, finally, that part of the nightmare is over, and Dickie himself is done!

Dickie rear angle shot Finished Dickie 1

He looks a bit more ‘feminine’ than I’d hoped, but I guess I can’t really point to anything that I’ve done to lessen that. In retrospect, next time I’m going to do a boy pony, I’ll take his eyelashes off. I think the clothes will really help though, especially with the reference.

So, that’s Dickie done, the most simple part of this whole project. May Nightmare Moon have mercy on me >.<

… OK, I lied. Just one more >.>

OK, I’m really done now. For real. I can make no promises for the post when the project is finished, though >.>